Data Engineering Zoomcamp week 4: dbt (data build tool)
This week in the Data Engineering course, we were introduced to a new tool for data modelling: dbt (Data Build Tool).
Hello Data Enthusiasts!
I’m excited to share insights from Module 4, where we learned and developed a dbt project led by the excellent Victoria Perez Mola from dbtLabs.
Dbt offers two usage options - either through the free SaaS for individual users by registering on the dbt Cloud website or by downloading the package to work locally with the CLI console. Installation is flexible and can be done via "pip" or "Homebrew".
What is "dbt" or "data build tool"? Why would anyone use dbt?
DBT (Data Build Tool) is an open-source software application that enables data analysts and engineers to transform data in their warehouses more effectively. It acts as a workflow tool that allows teams to easily define, run, and test data modeling code, primarily written in SQL, to organise, cleanse and transform their data.
Using DBT over writing SQL manually for data transformations in a data warehouse has several advantages that improve the efficiency, scalability, and reliability of data workflows. While SQL is powerful for querying and manipulating data, DBT adds a layer of functionality that addresses common challenges in data engineering and analytics projects.
Here are some key features and reasons why someone might choose DBT over just writing SQL:
1. SQL-based Transformations: DBT allows users to write custom SQL queries to transform data. These transformations are defined in models, which are then run in a specified order to produce datasets ready for analysis.
2. Version Control and Collaboration: DBT integrates with version control systems like Git, making it easier for teams to collaborate on data transformation projects, track changes, and manage versions. This is a significant improvement over traditional SQL scripting, which often lacks robust version control and collaboration features.
3. Testing: With DBT, you can define tests to automatically verify the quality and integrity of the data, such as checking for null values, ensuring unique keys are unique, or validating that relationships between tables are consistent. This automated testing framework helps ensure data reliability and trustworthiness without manual oversight.
4. Documentation: DBT automatically generates documentation from your SQL comments and schema definitions. This documentation is valuable for data governance and helps teams understand the data models, transformations, and lineage, facilitating better collaboration and onboarding of new team members.
5. Dependency Management: DBT understands the dependencies between your data models, allowing it to run transformations in the correct order and only re-run transformations when necessary. This dependency graph ensures that data flows are executed efficiently and correctly, something
6. Performance Optimisation: DBT can handle performance optimisations by managing materialisations, which control how the transformed data is stored in the data warehouse (e.g., tables, views).
7. Modularity and Reusability: DBT allows users to define transformations in modular SQL files, promoting code reusability and maintainability. This modularity means that common transformations need to be written only once and then referenced across multiple projects, reducing redundancy and errors.
Dbt works with a variety of modern data warehouses like Snowflake, Google BigQuery, Amazon Redshift, and others. It has become increasingly popular in the data community for its ability to streamline the data transformation process, making it more efficient and reliable for data teams to deliver quality, actionable data.
Level up your database skills with "SQL Crash Course" - featuring 350+ practical examples and 140+ interview questions with solutions. Includes a complete e-commerce database for hands-on practice. Get your free sample chapter at futureproofskillshub.com/sql-crash-course. Find the paperback on Amazon, or grab the ebook on Apple Books, Barnes & Noble, and Kobo.
Master the complete tech stack atfutureproofskillshub.com/books – from AI to Python, SQL, and Linux fundamentals. Plus, discover how to maintain peak performance and work-life balance while advancing your technical career in "Discover The Unstoppable You".
Prerequisites for the project
Software and Account Requirements:
A Google Cloud account with billing set up.
Access to Google BigQuery.
Python installed on the local machine (for DBT installation).
Setting Up the Environment
I’ve done everything both locally and in the dbt cloud.
Create dbt project locally:
Google Cloud Setup:
Set up a new GCP project or select an existing one.
Ensure BigQuery API is enabled for the project.
Create a service account with BigQuery Admin permissions and download the JSON key file.
Installing DBT:
Install DBT specifically for BigQuery using pip:
DBT Project Initialisation:
Command to initialise a new DBT project:
Directory structure created by DBT:
Configuring DBT for BigQuery:
Guide on editing the
profiles.ymlfile to set up the connection to BigQuery using the service account JSON key.Include a sample configuration with placeholders for project ID, dataset name, and path to the JSON key file.
We can configure our project through the console (CLI) to generate the profiles.yml file:
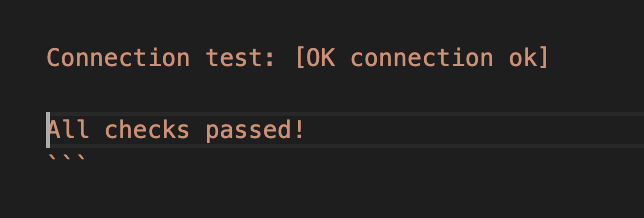
After debugging if everything is right it should look like this:
Create a project in DTB Cloud:
Google Cloud Setup:
Set up a new GCP project or select an existing one.
Ensure BigQuery API is enabled for the project.
Create a service account with BigQuery Admin permissions and download the JSON key file.
Create a repository on Github:
create an empty repo on Github
Create dbt account:
register on dbt cloud with the free option for developers from this link.
create your project
choose BigQuery
In the next step load the JSON Key that you have generated with the BigQuery service account and all the parameters are automatically loaded. If you are from the EU in the location part, write EU because by default it’s going to create your models in the US and it’s not going to work.
Test your connection and if everything went well, move on to the next step.
Setup a repository:
choose the Github repository and give dbt permission to your repository click the Next button in the dbt project configuration and ‘voilà’:
Starting the project:
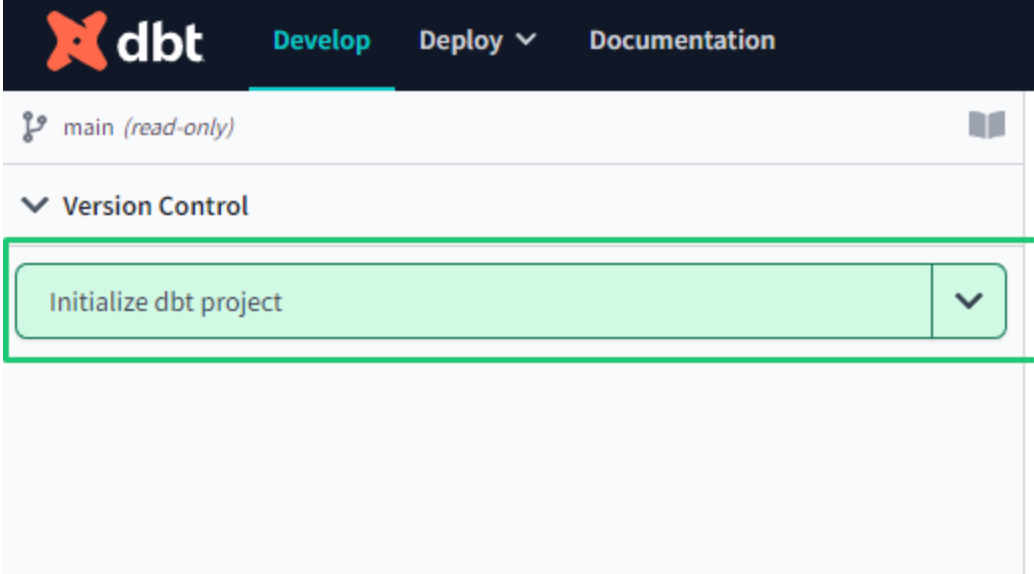
You need to initialise your project in dbt cloud (similar to the command dbt init we executed in dbt core ):
Remember that since it is linked to a repo on github, if you want to work on the dbt cloud GUI you need to first create a branch.
To execute any command from GUI, you can use the console that you have in the foot.
Now is the time to start working on the project.
dbt model
A model is essentially a SQL query or expression that defines how data should be transformed, aggregated, or organised for analysis. Along with the query, a dbt model includes a block of code at the beginning under Jinja notation, recognisable by the double brackets {{ }}. Within this block, the config() dbt function is typically used to specify the persistence strategy of the dbt model in the target database.
By default, there are four ways to materialise queries:
table: Model data is persisted in a table in the warehouse.
view: Similar to the previous one, but instead of a table, it is a view.
incremental: These models allow dbt to insert and/or update records in a model table if they have changed since the last time it was run.
ephemeral: They do not generate an object directly in the database; instead, they create a CTE (Common Table Expression), which is a temporary subquery to use in other queries (such as WITH SQL Server).
To build the model, you need to execute the command "dbt build". If you don't include any parameters, dbt will compile and build all the models. To specify that you only want to build a specific one, you can add the parameter "--select".
Sources
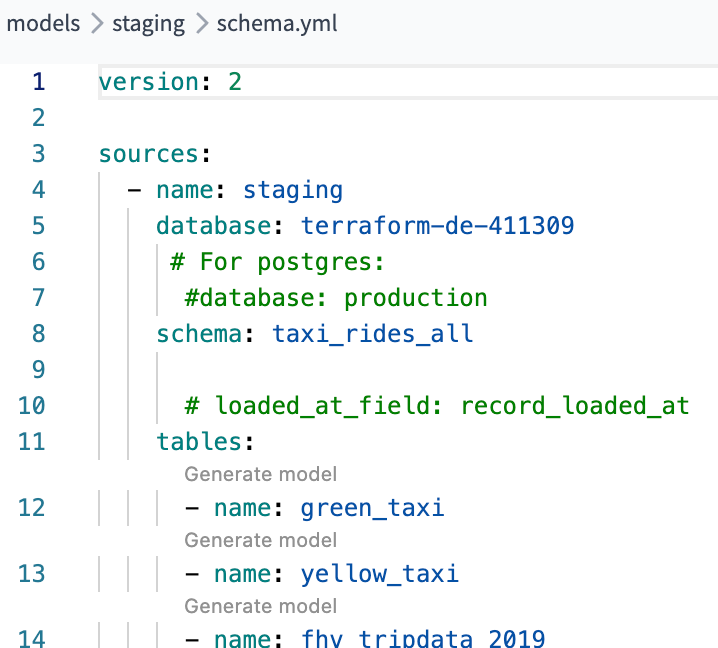
In dbt, sources are configurations that define how to connect to external data systems or databases, especially when the source is a database table (e.g., BigQuery). These configurations are typically specified in a schema.yml file, which needs to be created in the same directory as the model you're working on.
When building the model, you'll use a jinja macro notation to replace the "schema.table name" in your SQL queries with a reference to the configuration defined in the schema.yml file. This allows dbt to dynamically fetch the data from the specified source. For example:
The schema.yml file contains important details such as the version, source name, database, schema, and tables. By keeping this configuration separate from the models, it offers the advantage of centralising connection details. This means you can easily change the connection for all models by updating just one file, providing greater flexibility and ease of maintenance in your dbt project:
Seeds
Seeds are like special files (usually CSV) in your dbt project that hold data you want to put into your database. They live in a folder called "seeds" in your dbt project. It's a good idea to use seeds for data that doesn't change much.
To make a seed, you just need to upload a CSV file into the "seeds" folder in your project. For our project, we have a file called "taxi_zone_lookup.csv". You can then run a command in dbt like "dbt seed taxi_zone_lookup.csv". This command tells dbt to take the data from your CSV file and put it into a table in your database. Easy, right?
Macros
Macros in dbt are like reusable pieces of code that you can use over and over again in your data transformations. Think of them as similar to functions in other programming languages. They're super handy when you find yourself writing the same code in multiple models. You define macros in .sql files located in the macros directory of your dbt project.
For example, for our project, we are going to create a macro called "get_payment_type_description". This macro takes a value from the "payment_type" column as input and uses a CASE WHEN statement to return the corresponding description. We define this macro in a .sql file and then we can use it in various models throughout our project. It's a great way to keep our code organised and avoid repeating ourselves.
Packages
It allows us to reuse macros between different projects, similar to libraries or modules in other programming languages. To use a package in your project, create a packages.yml configuration file in the root directory of your dbt project.
Dbt is going to install them automatically with the command dbt deps.
The dbt-utils package for example includes the macro surrogate_key to create a surrogate key.
With the codegen package you can configure your dbt project to automatically generate documentation in web format and published in dbt cloud. Open a new file on a + button on the right-up side and write this code:
{% set models_to_generate = codegen.get_models(directory=staging) %}
{{ codegen.generate_model_yaml(
model_names = models_to_generate
) }}
It is going to generate documentation for all tales in the staging models. Change staging to core and you are going to get documentation for tables in the core models. Great and easy. Time saver.
Looker Studio
Looker Studio provides a user-friendly interface for building and customising dashboards and reports without needing to write any code.
With Looker Studio, users can:
Design Dashboards: Easily drag and drop visualisations, charts, and widgets onto a canvas to create interactive dashboards.
Customise Reports: Customise the appearance and layout of reports to suit specific needs and preferences.
Explore Data: Explore and analyse data visually using intuitive tools and filters.
Collaborate: Share dashboards and reports with team members, collaborate on insights, and make data-driven decisions together.
Embed: Embed dashboards and reports into other applications or websites for wider distribution and accessibility.
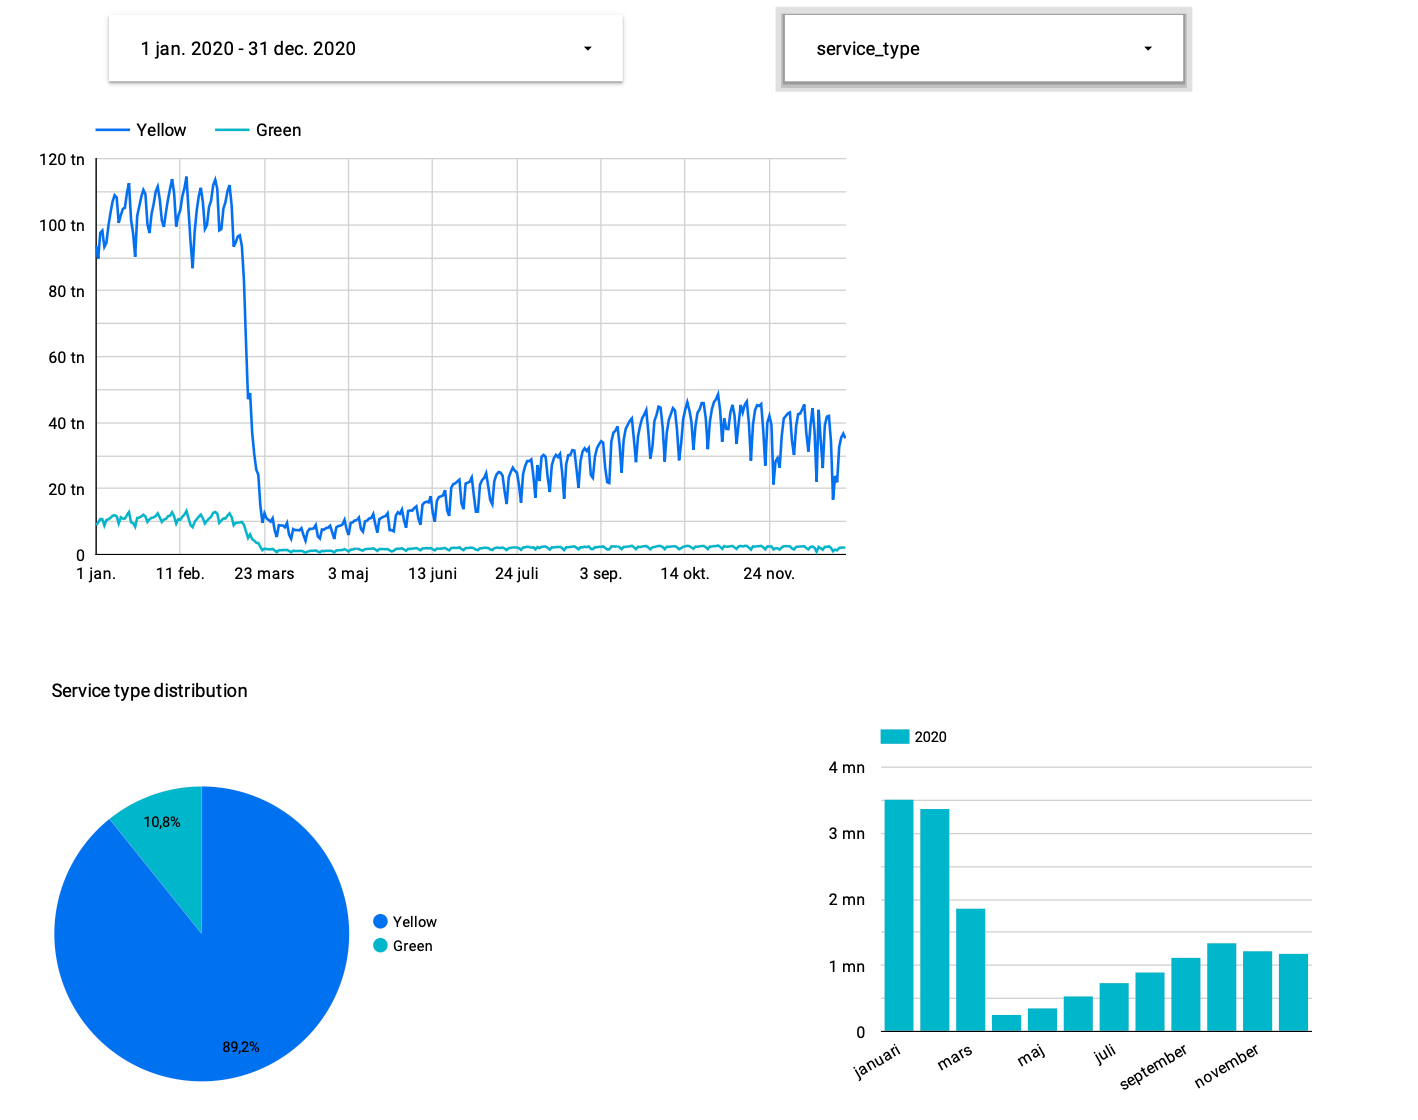
There are two types of elements: reports and data sources. The first are the dashboards with the visualisations and the second are the connectors with the tables of the source systems. The first step to generate a dashboard is to configure the data sources.
When you choose the table you can start designing your beautiful dashboards.
Conclusion
I am really happy with all the new things I learned this week. dbt (Data Build Tool) was a true discovery. At first, dbt might seem a bit complex, but as you work with it, it becomes clear how to use it and what benefits it provides.
I am looking forward to using dbt in my future projects. It is a great addition to my data engineer's toolbox!
I'm looking forward to next week because we'll be diving into Spark for batch processing.
You can find the code related to this project in my GitHub repository.
So, Data Engineers keep coding and keep exploring.


